Editing an SD card
Along with creating new SD cards, PiBakery can also edit and add scripts to an existing SD card, as long as the SD card was initially created with PiBakery.
1. Open PiBakery
If you haven't already, open PiBakery and delete all the blocks currently in your workspace. It is very important that your workspace is clear before continuing.
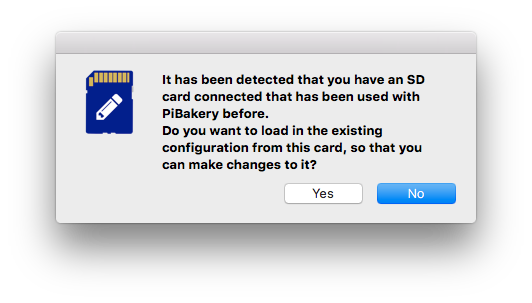
Now insert your SD card. In a few seconds a message will appear asking if you want to update the SD card. Choose Yes.
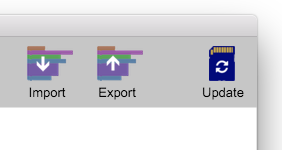
There will be a few changes to the PiBakery interface, including the Write button in the top right will now be an Update button, and the On First Boot will have changed to On Next Boot.
2. View old configuration
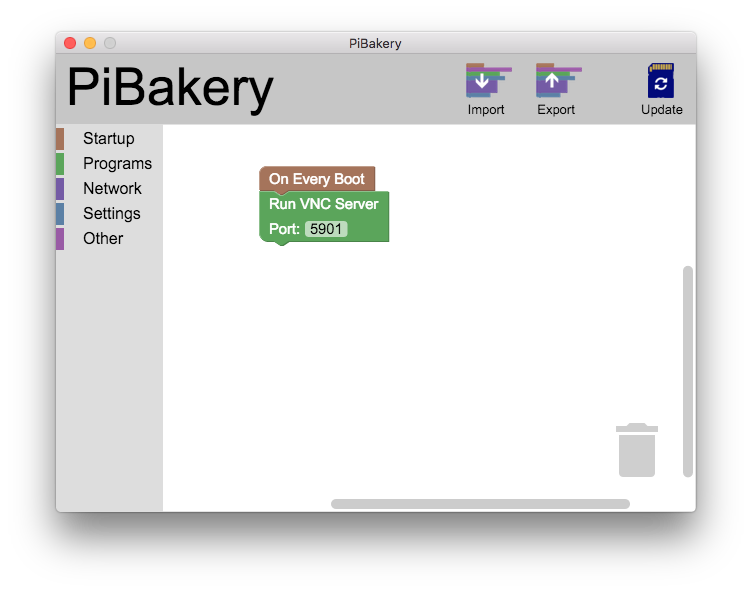
Depending on how you intially configured your SD card with PiBakery, you may see some blocks appear in your workspace. These blocks will be under the On Every Boot hat, and will only appear if you initally used the On Every Boot block when customising your SD card.
You may also see the On First Boot block. However, this will only appear if you have never booted your SD card in a Raspberry Pi, because as soon as you boot the SD card, these blocks will be run, and therefore cannot be edited by PiBakery any longer.
In short, you'll only see blocks in your workspace that you can edit. If you don't see any blocks in your workspace, that's fine too - you can still add some more!
3. Add new blocks
Just as you can add blocks to a new PiBakery SD card, you can add new blocks to an existing PiBakery SD card as well.
The one difference is that if you have booted a Raspberry Pi using that SD card, you won't have the On First Boot block any more, as using it would be pointless. Instead, there is the On Next Boot block, which will run blocks when the SD card is next used to boot a Raspberry Pi.
Add and remove blocks just as you did to initially create the SD card.

4. Update the SD card
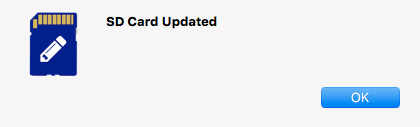
Once you've finished editing the configuration, you can save your changes to the SD card. Simply click the Update button in the top right, and after a few seconds you should see a message saying that the SD card was updated successfully.
It will only take a few seconds because unlike creating a new SD card, you don't need to write the entire Raspbian operating system - that's already been done. All you're updating is the PiBakery configuration.
5. Boot SD card
Once PiBakery has updated your SD card, you can remove it from your computer, insert it into your Raspberry Pi and power it on. Your scripts that you put under On Next Boot will be running after a few seconds followed by the scripts under On Every Boot.