Installing PiBakery on Windows
1. Download PiBakery
The first step to installing PiBakery on Windows is to download the installer.
Keep in mind that this download contains the full operating system for Raspberry Pi, and is therefore a large file, which can take a while to download depending on the speed of your internet connection.
2. Bypass Windows SmartScreen
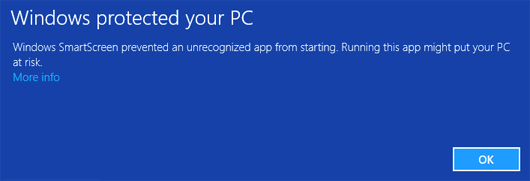
Once the PiBakery installer has finished downloading, you can go ahead and run it. Depending on what version of Windows you have installed, and how you've setup your computer, you are likely to be presented with a message saying that Your PC Was Protected by preventing PiBakery to run.
On Windows 8 and 10, the message will look similar to the one shown here.
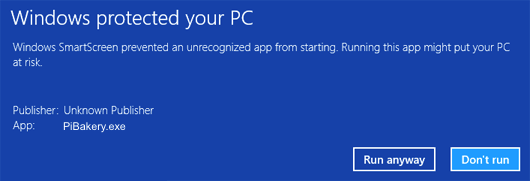
On Windows 8 and 10, to bypass this message, you'll need to click on the small More info link below the text, which will make a new button, Run anyway appear. Click this button to open the installer.
On Windows 7, you'll just be asked if you want to allow this program to make changes. Choose Yes
2. Run Installer
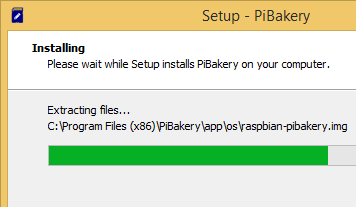
Once you've bypassed Windows SmartScreen, you'll then be presented with the PiBakery installer window. Click through the screens, choosing if you want a Desktop icon, and finally click Install. The installer will then begin to install PiBakery, which can take a few minutes depending on the speed of your computer.
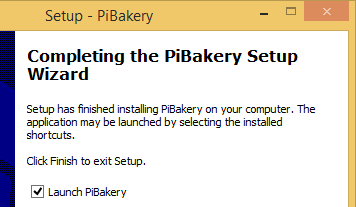
3. Run PiBakery
As soon as the installer has finished, you'll be asked if you want to run PiBakery. You can run it now if you want, or later from the Start Menu (or Desktop icon if you chose to have one).
The first time that PiBakery is run there is a small possibility that it may tell you that there is an update available. This update is optional and if you choose not to update, you'll be asked again the next PiBakery starts.
And that's it! PiBakery is ready for you to use!